
Summary
-
ESP32 rotates an HC-SR04 in a stepper manner to create a 360° continuous ultrasonic radar.
-
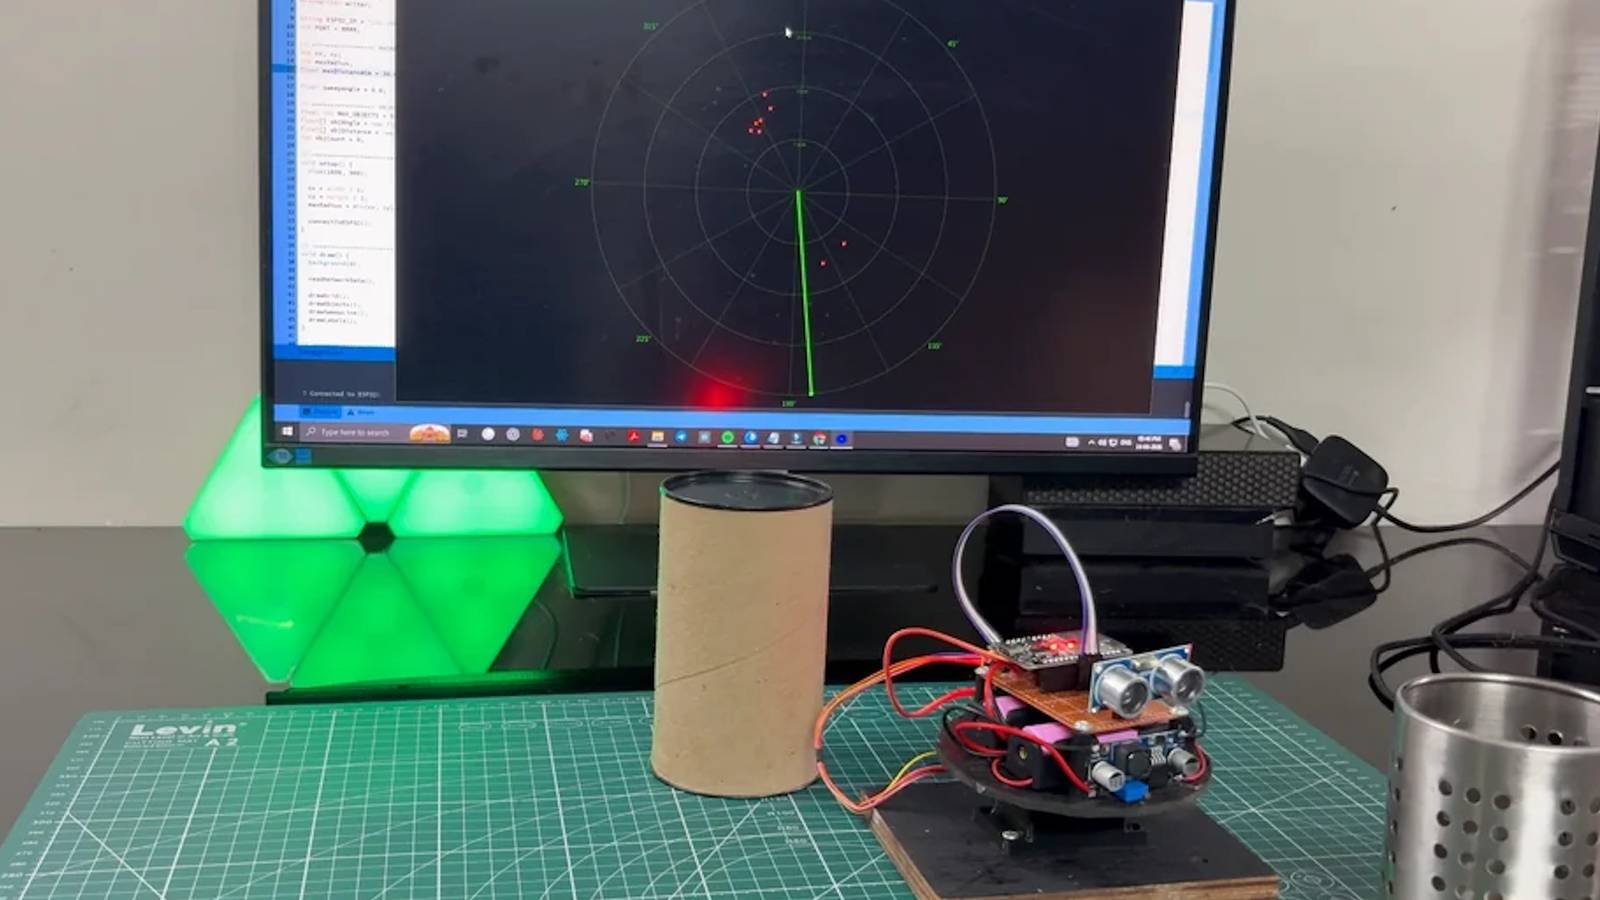
The angle and distance pairs are transmitted via TCP to a processing user interface that plots a live radar on a PC.
-
ESP32 runs everything; The source code is clear and documented – read it instead of just copying and pasting it.
For years, experts have helped us answer the age-old question: what’s happening around us? Ok, sure, you can just turn your head and look, but that’s not as cool or fun as creating a device that looks. for you. As such, we’ve seen all sorts of projects, from motion sensors to security cameras, to help us see more than we normally can.
But what about humble sonar? Can you build one of those at home? Well, it turns out you can; All you need is an ESP32, some motors, batteries, and a turntable, and you’ll have something that looks like scanners. Foreign.
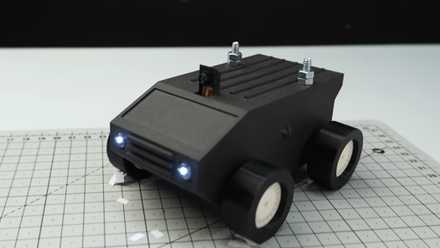
This 360° Ultrasound Radar Powered by ESP32 Keeps an Eye on You
He even has his own pair of “eyes.”
This cool project was the idea of SciCraft, who uploaded a video to YouTube showing how to build it and what it looks like when it’s operational. They were also kind enough to upload the source code and instructions to GitHub, so you can follow along if you want to make one at home.
This is how SciCraft describes the project:
This is not a sophisticated sensor fusion project. It is a clean and minimal system that answers one question: Where are the objects around me, at all angles?
The ESP32 drives a stepper motor that rotates an HC-SR04 ultrasonic sensor in a continuous 360° sweep. At regular angular intervals, it reads the distance and transmits
angle,distanceIt is paired over a TCP socket with a processing-based radar user interface running on a PC. The user interface plots those readings in real time, giving you a live radar display.
The creator also says that the ESP32 handles everything you see in this project. Neither secondary board functions as a backup; everything runs on the microprocessor, which is really nice to see.
Fortunately, the developer also presented its source code in a way that is easy to read. They also took the time to explain each part of the code in the project GitHub pageso you can understand what each part is doing and why. While the creator understands if you just copy and paste the code and continue, he recommends becoming familiar with what it does so you can better troubleshoot and adapt it to different sensors or motors.