
Being able to change colors without modifying the G-code and swap filaments manually makes multifilament modules like Bambu’s AMS and Elegoo’s CANVAS a game-changer for 3D printing enthusiasts. But despite their convenience, single-nozzle setups tend to purge an excessive amount of filament. So much so that you can end up wasting several grams of filament on what is essentially unusable 3D printer excrement just to get a small multicolored model. But after using my multicolor Canvas module For over a month, I found several ways to reduce filament waste.
Launching towards another object is always an option
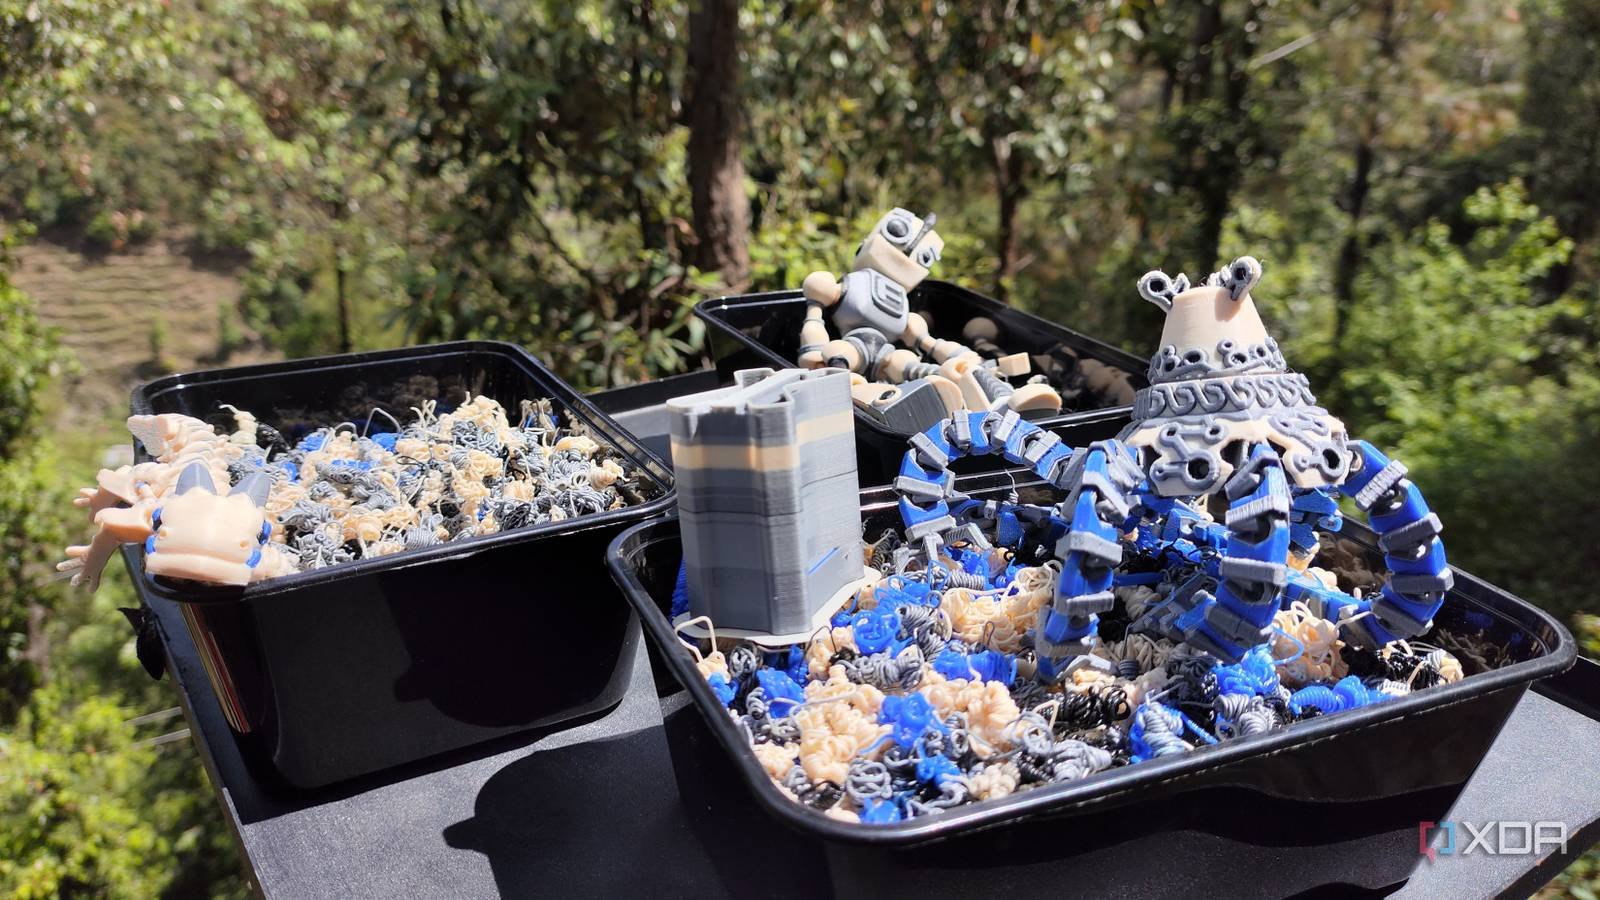
I usually print a utilitarian item along with the multicolor model.

For most people (including me a month ago), a multicolor print usually includes a single model and the purge tower used to calibrate it. However, it is possible to add a sacrificial model to this setup, one where the printer can get rid of old filament during color changes. In this way, this sacrificial model will absorb the filament that would otherwise become rolls of poop, although it will have a discordant mix of colors.
I tend to use simple containers and trays for this model as they have some useful value and are not just decorative elements that would otherwise be ruined by uneven mixing of filaments. However, fidget spinners, random decorative walls (especially for my D&D-themed characters), and spinning toys can also work as sacrifice models. In the majority cuttersAdding this model is as simple as importing it into a project and enabling the Empty on Fill and Empty on Object settings.
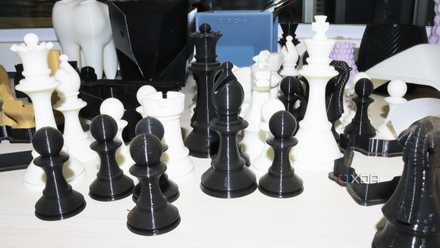
For small models, it is better to print several copies.
The waste produced by color changes does not adapt to the models.
Let me be clear: unlike a sacrificial model, creating multiple batches of the same model during a single print cycle will not reduce overall waste. Rather, the total amount of filament dregs is the same regardless of the number of objects you print. Therefore, if you filled the build plate with the same multicolored object, you would significantly reduce waste per model. Of course, you’ll need more filament for the actual models, but it’s a great way to avoid extra waste if you want to print multiple copies in the future.
The biggest caveat to this method is that you will need small enough models that can fit on the build plate. Whenever I need to print decorative objects that don’t take up too much space, I try to fit as many as I can on the build plate. That way, I would maximize the result (and even create extra copies that I can give to my family and friends).

My preferred method is to print different colored parts separately.
And fit/paste them later

As much as I love multi-color printing, the easiest trick to fixing extra filament waste is to not use the color swap function at all… at least for one print cycle. You see, 3D printing websites include tons of models that can be broken down into their individual components. This way, you can print the sub-objects with different colors separately, thus considerably reducing the filament that the 3D printer would otherwise lose considerably.
What’s more, there are even objects that can slide together, and even with different colors resulting in slightly different dimensions, I’ve never had too many problems putting the set together. model. I’ve done this with collapsing katanas, random decorative items, and even cool-looking fidget spinners, and as long as you set the right parameters on the slicer, these models come out fine. Alternatively, I’ve also come across wick kits and models that need to be glued together, and while they can take a while to assemble, the lack of wasted filament or purge tower makes them better than conventional multi-color models in my book. While we’re on the topic of purge towers…
Personally, I wouldn’t recommend removing the purge tower.

The purge tower created next to the main model is another useless byproduct of multi-color prints. But as much as I’d love to get rid of it, it’s necessary to achieve clean color transitions in main mode. I’ve tried experimenting with the purge tower by changing its dimensions (and even removing it entirely), but my results have been pretty mixed so far. Even in the best of times, modifying the purge tower settings has resulted in some color bleeding. Therefore, unless you are aware of the risks, it is not a good idea to remove the purge tower.
3D printing veterans also recommend optimizing discharge volumes, but I’ve often had the slicer increase this value when using auto-scaling. That said, I’ve had luck setting the discharge volumes slightly below 0.85 on my Centauri Carbon 2. However, considering it only saved a fraction of a gram of filament at the risk of introducing additional color bleed, I’m not a big fan of adjusting this setting either.