

There’s a moment in almost every usability session when a participant pauses at the login screen, types something, and looks up: checking to see if they’re “doing it right.” That pause is a clear sign. They have already realized that this is not a real application, and every data point collected after that moment is filtered through that awareness.
In testing financial products, the problem is more serious. Finance users are trained to notice when something is wrong: a balance that doesn’t add up, a field that accepts anything. When a banking prototype bypasses actual authentication, participants don’t simply log out; They stop mid-session to point it out. The team obtains findings that reflect how users behave in a demo, not in an actual product.
The solution is more limited than you think. Identify the moment where the trust of the participants is established and make that interaction real. In a banking application, that moment is the login.
This tutorial creates it: credentials that are validated, a live error status, and a biometric animation that looks native, with no code required.
What we’re creating: A login that behaves like a shipped product
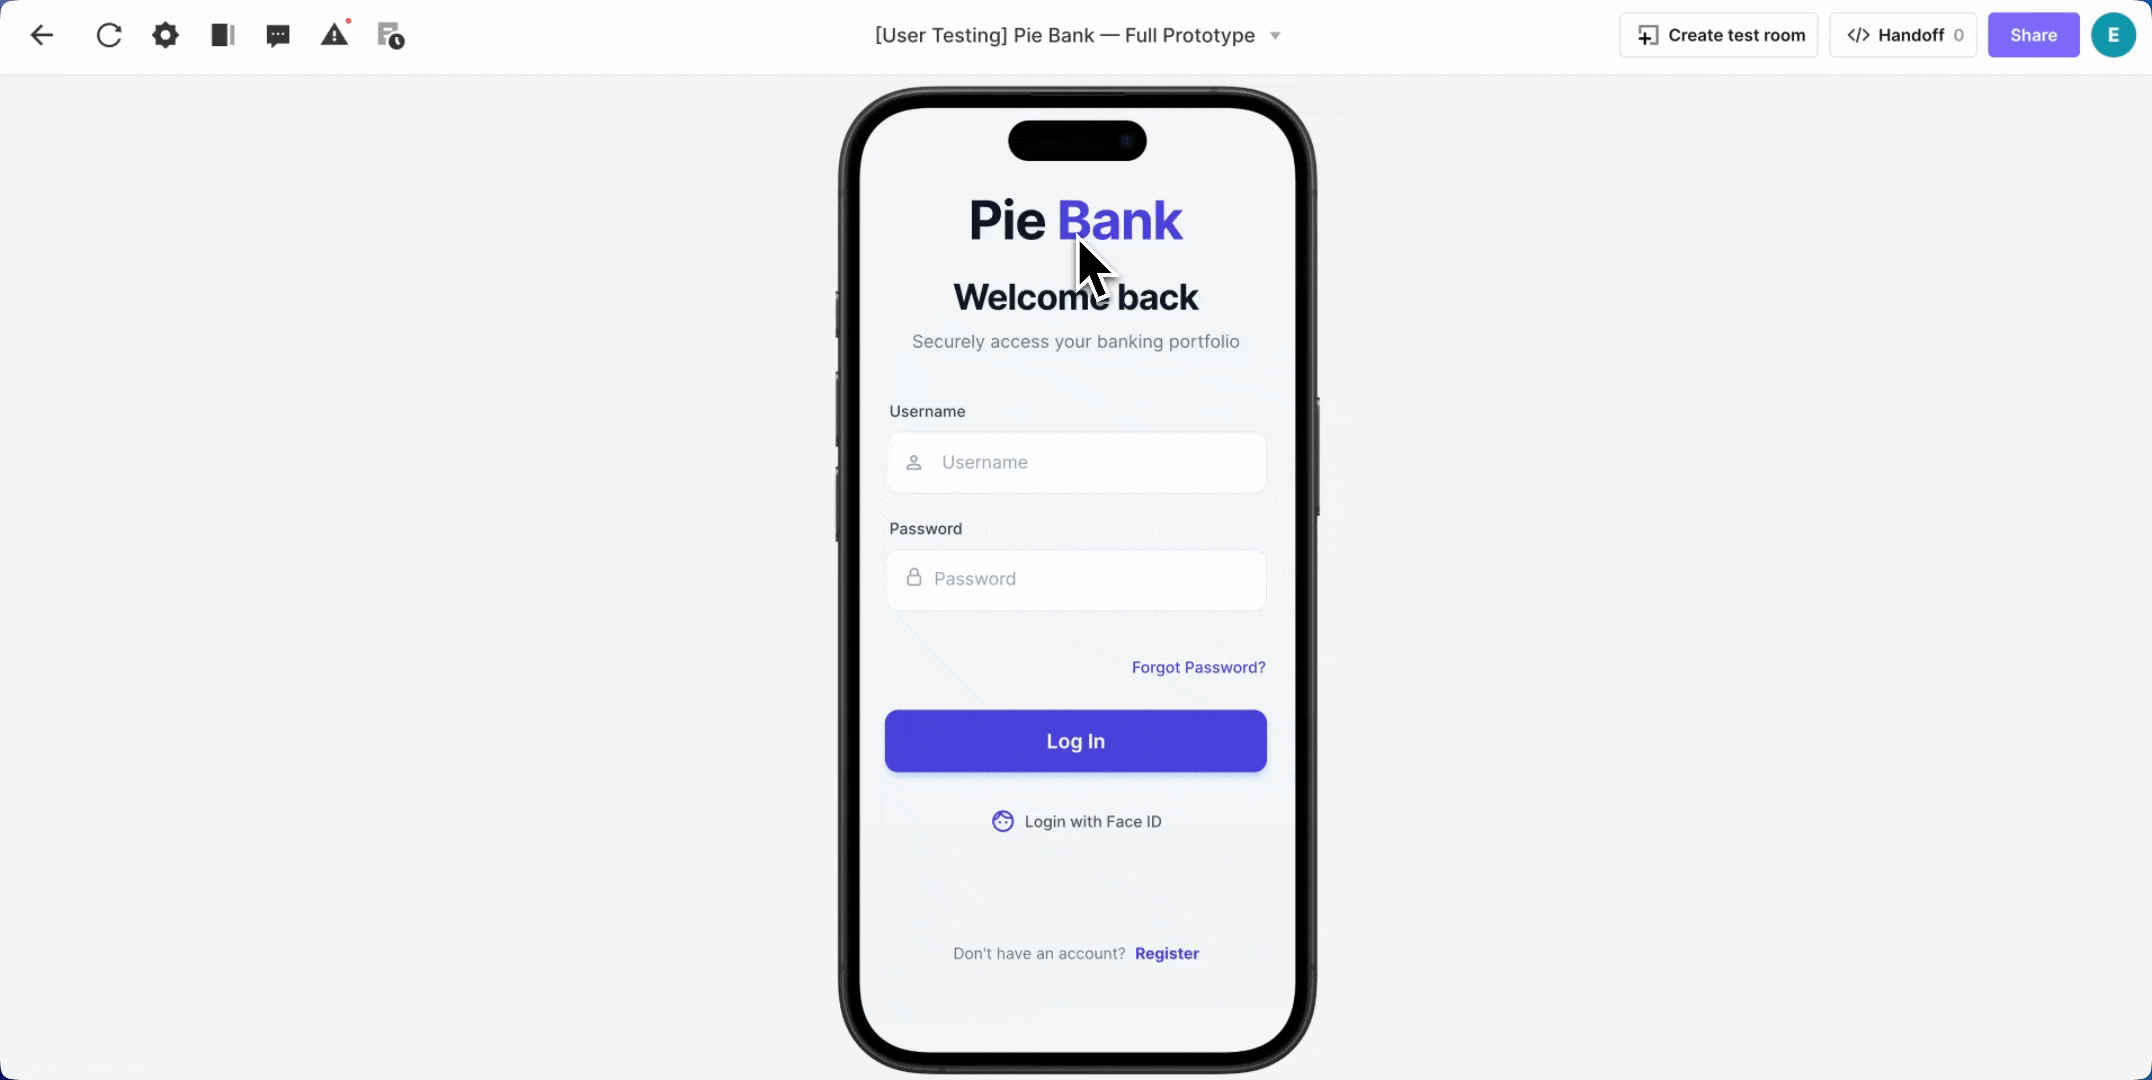
The login flow, built around Pie Bank, a mobile banking prototype, includes functional text entries, a masked password field, credential validation, a live error status, and a Face ID animation programmed to be indistinguishable from iOS.
What you will need:
- A Figma login UI (or any compatible design tool)
- ProtoPie Studio — free to starteverything in this tutorial works on the free plan
- A Lottie file for Face ID animation (This it’s what we use)
- He Finished Pie Bank prototype file — download to follow along or use as a reference after compiling
Step 1: Import from Figma Choose scene, not flattened
In Figma, open the ProtoPie plugin with your login framework selected and choose Scene when exporting. Flattened collapses everything into a single image; Scene preserves the layer hierarchy so that each element arrives in ProtoPie as a separate layer that can be accessed.
Before continuing: Rename each layer significantly. “Enter username”, not “Rectangle 14”. You will reference these names in formulas: vague names compounded in real time lost.
Step 2: Swap static fields for inputs that actually accept text
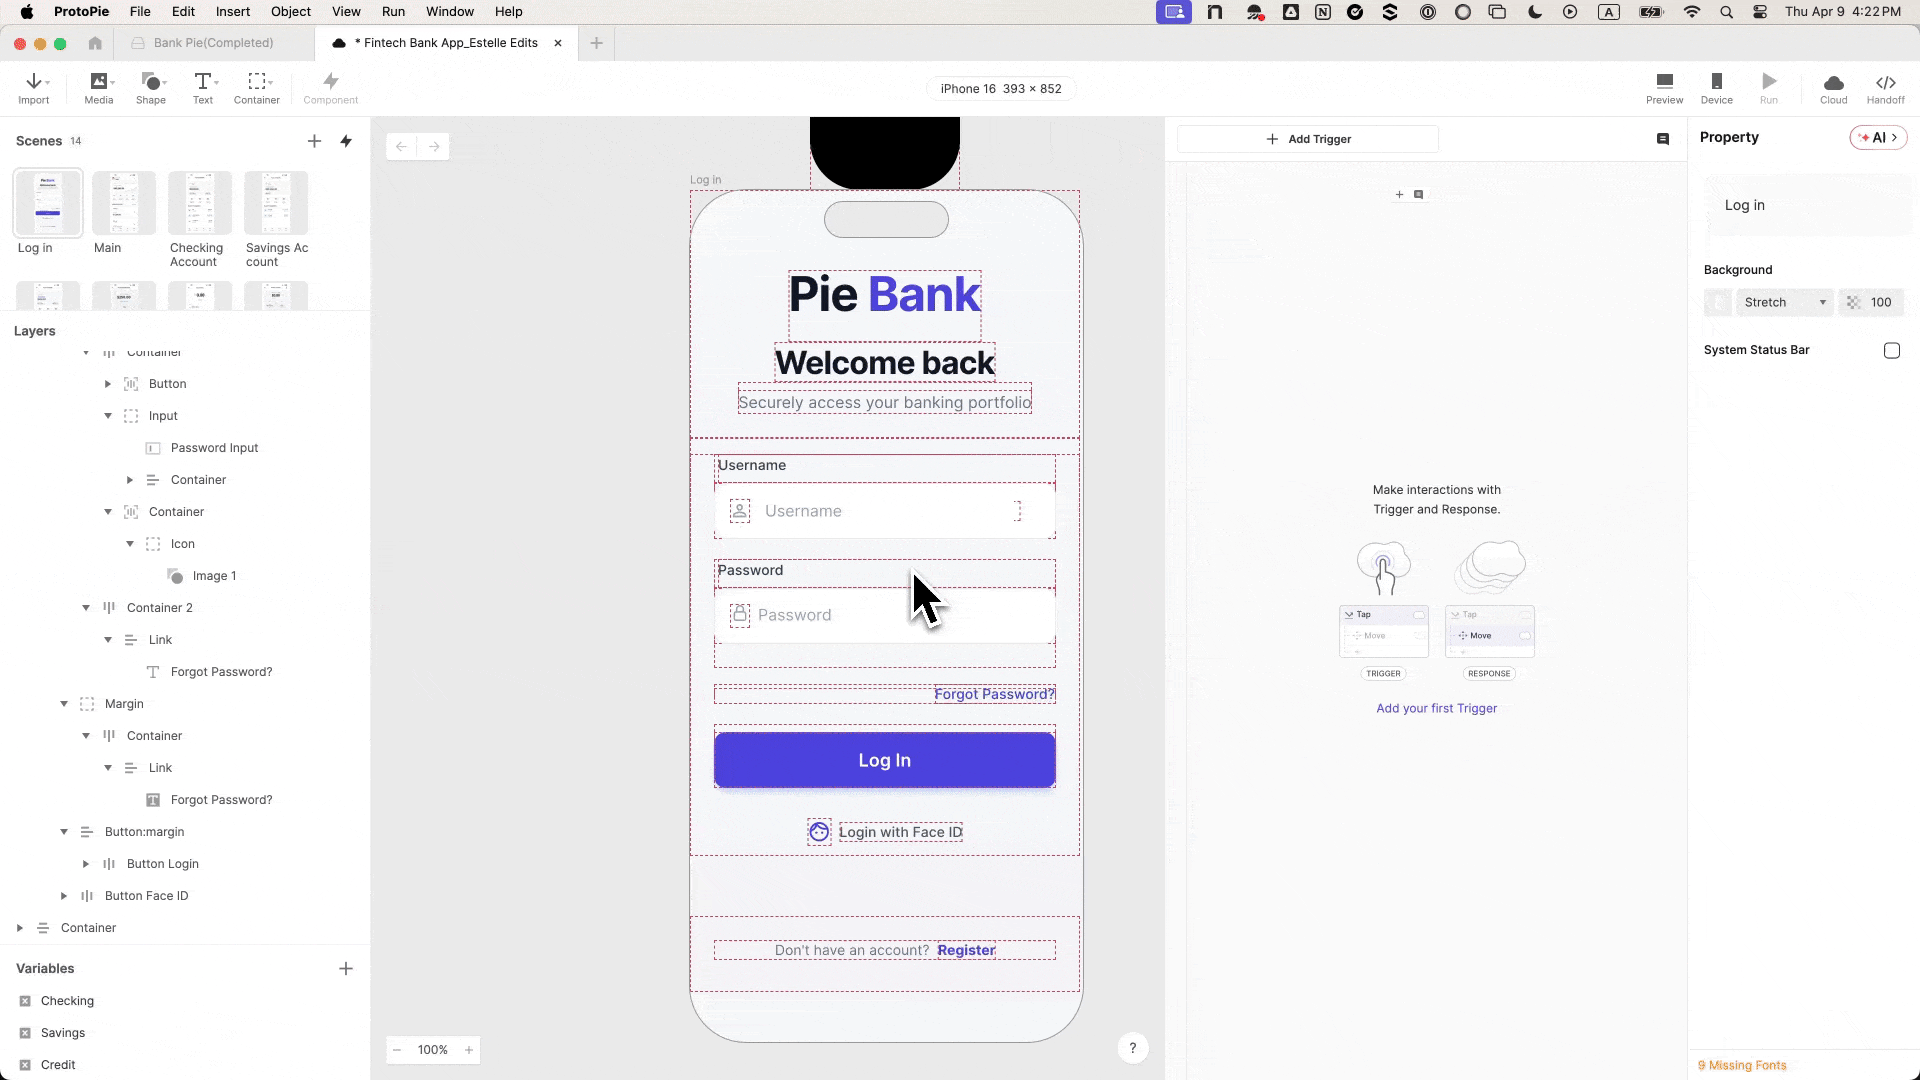
ProtoPie Native Input The layer accepts real keyboard input: participants type real text, they don’t touch a placeholder. Gonna Text → Inputdrag an Entry layer onto your canvas and nest it inside your username field group. Match it visually: placeholder text User namebackground fill and font that match your design.
Press preview. Click on the field. Guy. That’s the prototype that starts behaving like an app instead of representing one.
Rename this layer Enter usernameduplicate it and nest the copy within your password field group.
Step 3: An ownership change masks the password
On the duplicate layer, change the placeholder text to Password and establish Guy to Text password. ProtoPie handles the masking – no custom logic needed.
Preview both fields: username shows text, password shows dots. It already seems real and you haven’t written a single condition.

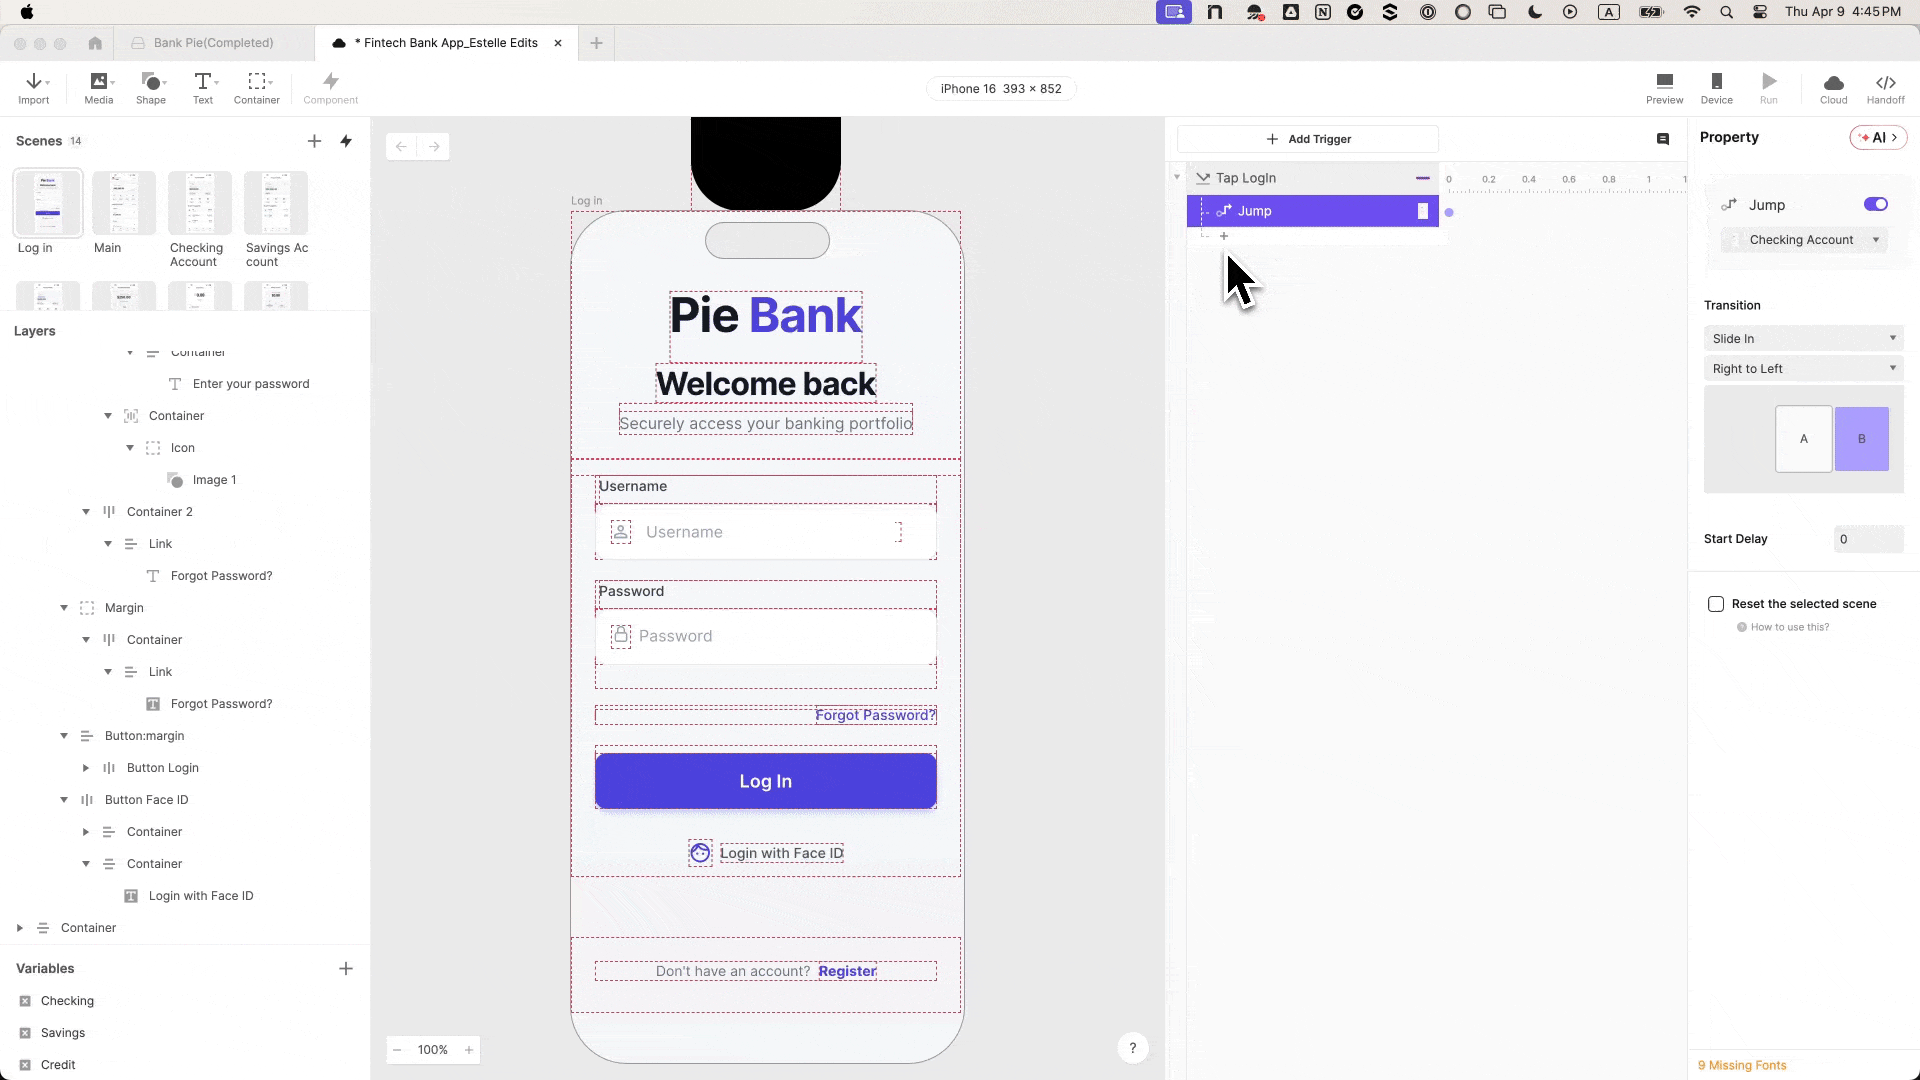
Step 4: Create the target scene before wiring navigation
Add a new scene, even a blank one. The most common sequencing error in ProtoPie is trying to connect a navigation response before a destination exists. Believe it first.
Step 5: Connect the button – it works, but still lets everyone through
Select Accessadd a Tap trigger, establish the response to Hoppoint to the board scene, transition Slide from right to left.
Preview and tap. Browse: but for any input, including nothing. The prototype still lies. The following two steps are the solution.
Step 6: Add variables so the prototype remembers what was typed
At the bottom left of ProtoPie, add two Text type variables: username and password. Link each one to its input layer with a formula:
input("Input Username").text
input("Input Password").text
Enable debugging icons – green overlays will show live variable values as you type. When you see your keystrokes appear in real time, the link is confirmed.

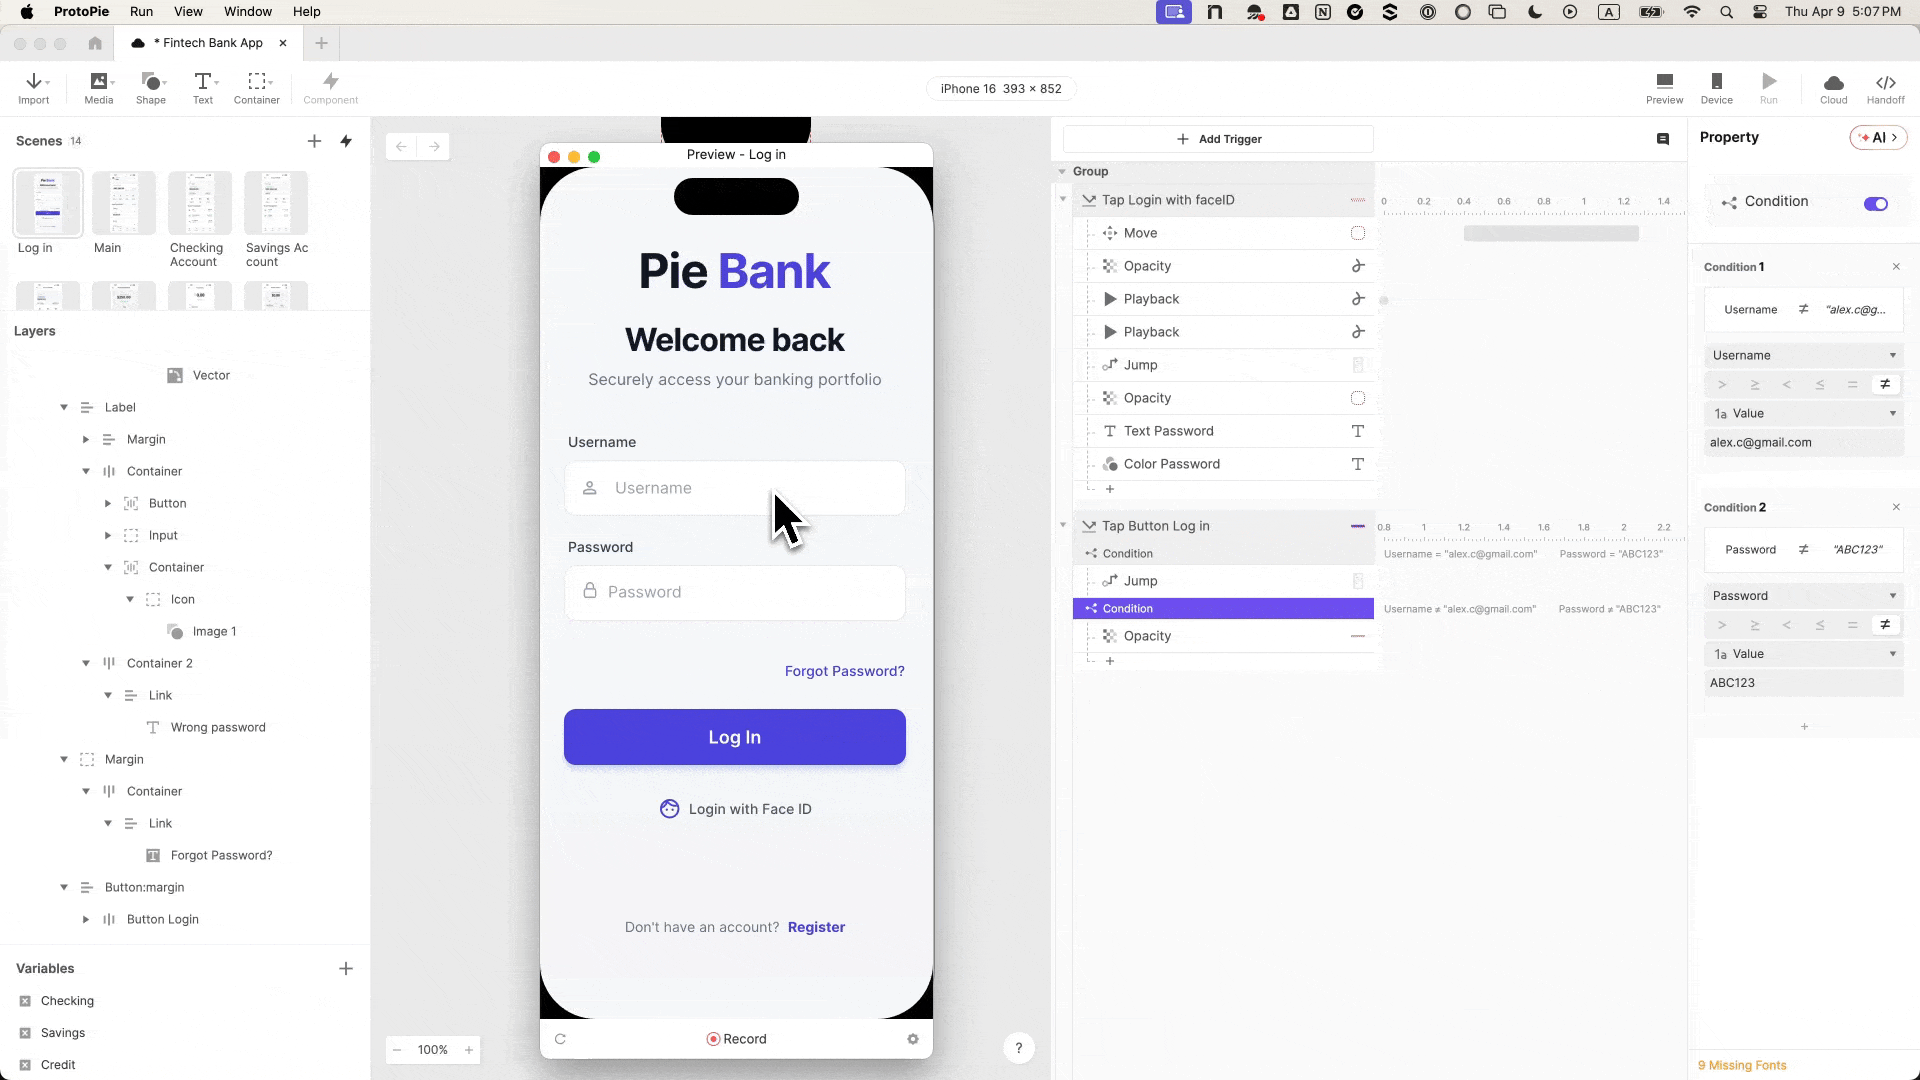
Step 7 – Add a condition so that only valid credentials are passed
return to the Tap activate the login button. Add a Condition with two rules, both must be true:
usernameit’s the samealex.c@gmail.compasswordit’s the sameABC123
Move the Hop response within this condition. Wrong credentials, empty fields, incorrect formatting – none of them get through. Participants now have to log in. That one restriction changes the texture of each test session that follows.
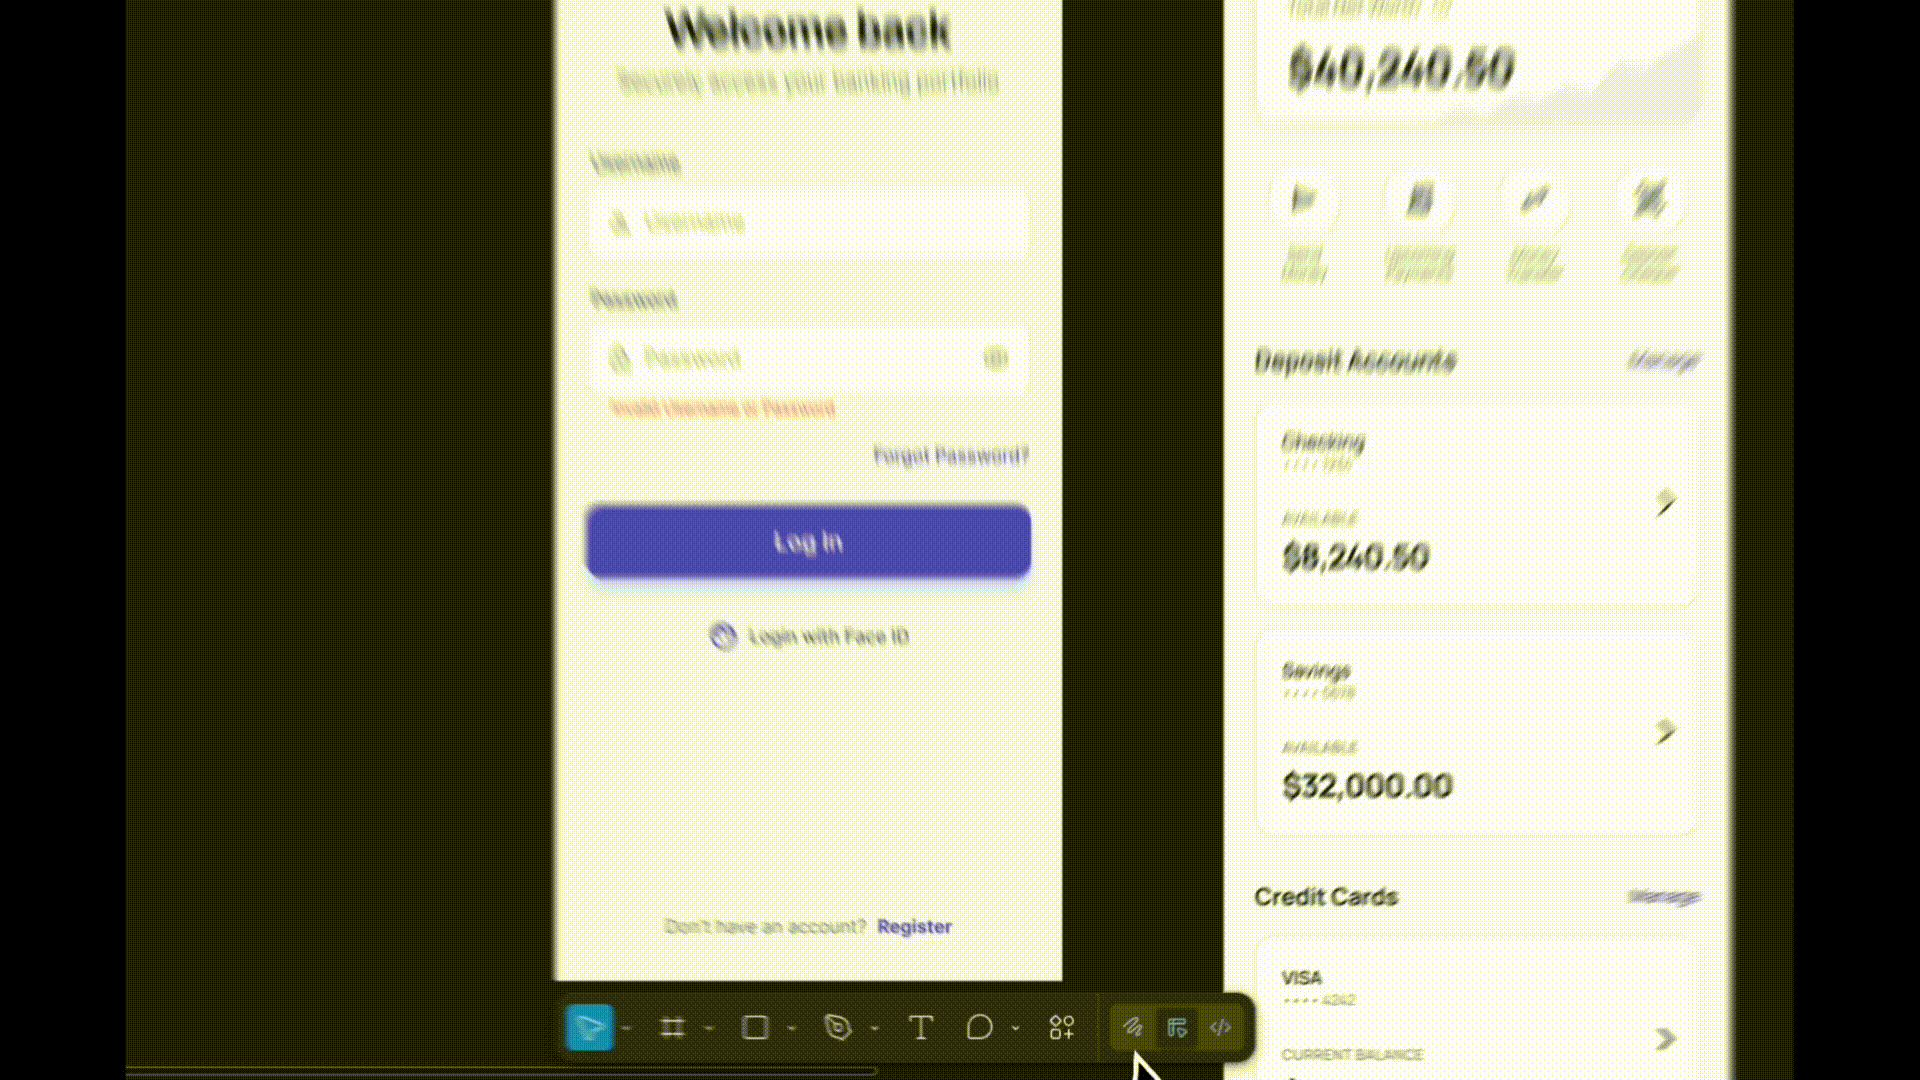
Step 8: Create the error state, the interaction that most prototypes skip
Find your error message layer, rename it Error textset the initial opacity to 0. Add a second condition (the inverse of the first), and within it, a Change property response settings Error text opacity to 100.
Incorrect credentials: An error appears. Correct credentials: control panel. Two results: which is what makes this testable, not just provable.
Step 9: Add the Face ID animation, the detail that makes testers ask “Is this real?”
Gonna Mediadrag a lotty place it on the canvas, upload your Face ID file, and place it off-screen over the iPhone frame. in your Sign in with Face ID button, add a Tap trigger (rename Tap Face ID) with four answers in sequence:
- Move: Lottie container for
Y: 60 - Reproduction: Search: time
0s(restarts so it always plays from the beginning) - Playback: Play: Lottie File
- Hop: to the board
Step 10: Stagger the time, this is what makes you feel native
With no delay, all four responses activate at once and the scene skips before the animation plays. Add offsets:
| Answer | Delay |
|---|---|
| Move | 0s |
| Look for | 0s |
| Play | 0.5s |
| Hop | 1s |
Allow Reset selected scenes in Jump: without it, navigating back leaves the animation stuck at Y: 60.
Preview: Tap Face ID, animation appears, plays, screen transitions. A biometric login indistinguishable from the real thing.
Such a real login changes what you can learn from your prototype
When authentication actually works, the error state becomes a real investigative touchpoint: do users understand the message, do they try again, or do they resort to Face ID instead? These are questions that a fake login cannot answer.
In stakeholder reviews, the flow speaks for itself. In engineering handover, the interaction panel documents the behavior (conditional logic, variable bindings, synchronization) so that engineers see the intent, not the interpretation.
That’s why FinTech teams invest in login fidelity, even when login is not the feature being tested. It is where the trust of the participants is established. Get it right and everything after that will produce a better signal.
This tutorial is part of the FinTech Prototyping with ProtoPie series on the ProtoPie blog. The series builds Pie Bank from the ground up in four chapters, covering the dashboard, money transfer logic, and camera integration. If you found this tutorial helpful, the rest of the series goes further.
(mnj, he)