
Digital photo frames have been around for years, and yet somehow the best options still require you to hand over your photos to someone else’s server. We have Google’s Nest Hub, which is based on Google Photos, and Amazon’s Echo Show, which is based on Amazon Photos. Even dedicated frameworks from companies like Aura and Nixplay run everything through their own cloud. They all look great on a shelf, of course, but your device is at the whim of those companies that graciously continue to support them as time goes on.
I’ve been playing with ePaper screens and ESP32 dashboards for a while now, and after creating everything from productivity dashboards to a basic Kindle, I thought it was time to try something a little more practical. I wanted a photo frame that pulled from my own library, processed images locally, and never called home. The result is a setup based on Seeed Studio reTerminal E1002, Immich, Home Assistant and ESPHome. The reTerminal E1002 is $100 at Seeed Studio at the time of writing and is perfect for this type of project.
It took some work to get it right, although it was much easier than last time thanks to the native support ESPHome added for this display. Plus, the image quality won’t rival a 4K display anytime soon. But it stays on my shelf, changing photos throughout the day, and every piece of the process is something I own and control.

9/10
- Connectivity
-
2.4 GHz Wi-Fi 802.11 b/g/n, Bluetooth 5.0
- Battery
-
2000mAh
The reTerminal E1001 and E1002 are the end of the ESP32 ePaper displays, featuring expandable IO, an SHT40 temperature and humidity sensor, a buzzer, a microphone and more, all in a metal frame. The E1001 is a monochrome screen and the E1002 is a full color screen.
A $100 screen that looks perfect
ePaper does what LCD could never do

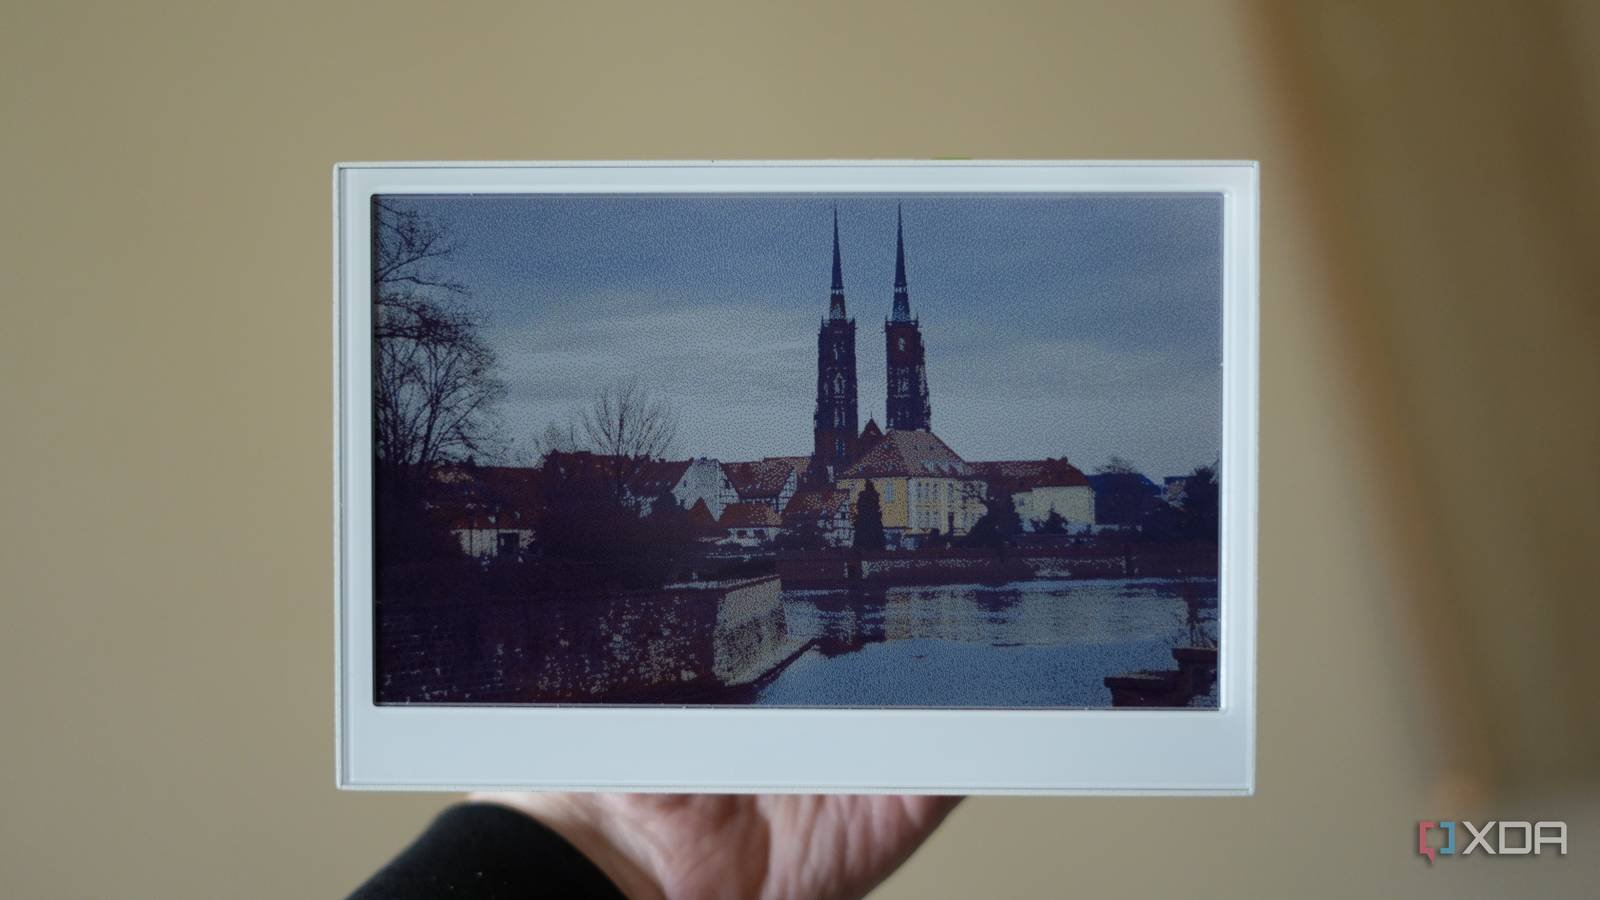
The reTerminal E1002 is one of Seeed Studio’s newest ePaper displays and is the reason this project works so well. It’s a 7.3-inch panel that runs E Ink’s Spectra 6 technology, which means it has six pigment colors: black, white, red, green, blue, and yellow. These colors are combined at the sub-pixel level to produce up to 4,096 displayable colors, so while it won’t match your phone’s screen exactly, it will still work for photos on a shelf.
The real advantage of ePaper for a photo frame is that it doesn’t need power to hold an image. Once a photo is rendered, it simply remains on the screen with no backlight or need to refresh, which in turn means no active power consumption. The screen looks like a printed photograph from across the room and doesn’t emit light like an LCD screen does. From a distance, it may look like a framed print rather than a typical LCD photo frame.
The hardware itself is built around an ESP32-S3 with 8MB of PSRAM and 32MB of flash, which is more than enough for what I’m asking it to do. It has a built-in temperature and humidity sensor, three physical buttons, a microSD slot, and a metal frame with a mounting hole on the back. Most of the processing happens in my Home Assistant instance, so all it needs is a buffer large enough to hold the resized image.
The downside to a setup like this is the update speed. A full screen refresh takes about 15 seconds because of how Spectra 6 technology works. It uses voltage waveforms to drive pigments forward and pull back others to create each color, so there’s no partial refresh either. But for a photo frame that updates several times a day, I don’t really care. It refreshes, the new photo appears, and then it sits there looking good until the next one appears.
Immich is Google Photos, but without the cloud
Works perfectly

The photo library side of this runs on immichawhich is without a doubt the best self-hosted alternative to Google Photos that I have used. It handles automatic backups from my phone, organizes everything into albums, and has a robust API that makes it easy to programmatically pull photos. I’ve been running it on my home server for a while and much of the experience is the same as Google Photos, right down to the mobile app.
The pipeline I created works like this: a Python script running through Pyscript in Home Assistant connects to Immich and takes a random photo from a designated album. This runs on a fixed schedule using Home Assistant automations, taking the following data:
immich_url: http://192.168.x.x:xxxx
api_key: xxxx
album_id: xxxx
It then takes the photo it receives and processes it for the ePaper display, resizing it to 800×480 and fading it down to the Spectra 6 color palette. This step is very important, because standard image blurring doesn’t take into account how ePapers are pigmented. in fact look at the panel.
As I experienced when I first used this panel, colors on an ePaper display are much less saturated than their digital hexadecimal values would suggest, so I use calibrated palette values that match the screen’s real-world output. The processed image is saved to the local Home Assistant web directory, where it can be retrieved by reTerminal. ESPHome YAML is incredibly simple for this part, as paths are configured dynamically using substitutions at the top of the file.
online_image:
  - url: "${ha_url}${image_path}"
    id: frame_image
    format: png
    buffer_size: 65536
    type: RGB565
    resize: 800x480
    on_download_finished:
      then:
        - logger.log: "Image downloaded, updating display..."
        - component.update: epaper_display
        - delay: 45s  # Wait for the color e-paper refresh to finish
        - logger.log: "Display refresh complete, entering deep sleep..."
        - deep_sleep.enter: deep_sleep_1
    on_error:
      then:
        - logger.log: "Image download failed"
        - delay: 30s
        - deep_sleep.enter: deep_sleep_1
I set this up as an automation that runs every few hours, coinciding with the screen’s deep sleep cycle. However, I also have a manual trigger via a boolean input in Home Assistant, so I can force a new photo whenever I want. Obtaining an image and processing it takes just a few seconds and is sent to the reTerminal E1002 immediately.
ESPHome unites everything
No cloud dependencies

On the display side, ESPHome takes care of everything. All of the YAML is pretty straightforward, especially considering there is now official support for the panel in ESPHome. When you wake up from deep sleep, you connect to WiFi, retrieve the last processed image from Home Assistant’s web server, display it on the screen, report battery voltage and sensor readings to Home Assistant, and go back to sleep.
The deep sleep approach means battery life is fantastic if you use it unplugged. With four updates a day, you’ll get weeks of runtime from the built-in 2000 mAh battery. I keep mine unplugged most of the time and it’s nice to know that I can move it anywhere in my house without having to worry about a cord.
The three physical buttons on the reTerminal also give me manual control. The green button activates the device and forces an immediate refresh, which is useful when I’ve just uploaded some new photos and want to see one right away. I also love that there is no account, no app, and no subscription to make all of this work. The entire stack is open source, runs locally, and if Seeed Studio disappeared tomorrow, the hardware would still work.
This was one of my longest projects, but that’s exactly why I enjoy it. A commercial photo frame can cost you several hundred dollars, locks you into a cloud service, and gives you no control over the device itself. Here, however, I can tear it down and build something else if I want, and it’s a lot cheaper too. If you want to try it for yourself, I posted Pyscript and ESPHome YAML. on my GitHub.